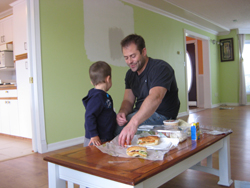
 My client, Robert, has a can-do attitude like no other. As I have gotten to know Robert over the last seven months, it shouldn’t have surprised me the type of home he and his wife chose for their first purchase. In business-for-self and raising a family of two young children, 1 and 3, I have to say it still shocked me when I pulled into his driveway to meet him in person for the first time.
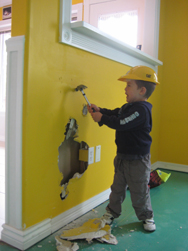
Right beside his family car in the driveway, a large disposal bin sat nearly full of housing rubble. He was still hard at work, so it took a few attempts of knocking on the door to get his attention.
The house was completely transformed from the pictures I saw in the MLS listing three months prior. Within four weeks of taking possession, they had all the major renovations complete on their three-story house. It took another two weeks for the finishing touches; the cabinets, counter tops and dishwasher to be delivered and installed.
Robert and his wife selected a great community to raise their family in, with plans to stay for the long-term. They saw many nicely renovated homes in the area, but felt that this home gave them the beginnings of something that they really wanted to make their own.
 The family was able to live in their previous residence for four weeks while the major renovations took place. Robert made himself available on site each day. He’s aware that many people don’t have this opportunity, but stresses the importance of being on site and available. “I couldn’t imagine not being there,” says Robert. “If you can, be there.”
He continues to share stories of why this is so important; “My wife and I had picked a laminate flooring for my main floor thinking it would work well. One day I had come in shortly after the installation had started and it looked different together than it did individually. It really wasn’t going to look good for the entire floor so I asked them stop while they were already halfway through the dining room. I was really lucky as this was product they had in stock and they did not buy specially for this job. So it ended up costing me $500 for material & labour instead of it being a big disaster. After that I was sure to buy a box of the flooring I was interested in; laid it out all together before making the big purchase.”
“Another example was the back splash in the kitchen. I got a good deal on a product I had bought earlier, before we had picked most of the other supplies. It was one of the last things to be done in the house. I happened to not be home when it was installed and when I got back I realized that it didn’t look right. All the renovations were done now, but we didn’t like this prominent piece. I sucked it up and started smashing it all out. We had the drywall repaired and a new back splash installed – one we liked. Again, if we would have double checked the sample we would not have gotten in trouble.” Robert recalls. “It’s things like this that should keep others motivated to check on their renovations every day, at least once a day.”
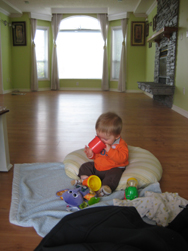
 Even with those challenging experiences the family was able to spend some quality weekend hours working together building their home. The renovations gave the family the opportunity to truly make each room their own, building a part of their family story from the ground up.
 The whole home, except for the basement, was renovated and crafted with their family in mind. The total cost for this amazing transformation was $75,000 – approximately double what Robert had originally budgeted. The costs, however, could have easily been even higher, nearing $150,000. It was through Robert’s connections in the construction industry and partnership with a fantastic general contractor that he managed to source much of his supplies at better than market prices.
Negotiating great prices on supplies and participating in the daily work may not be an option for every family. If you are planning to do renovations with a future home purchase, there is a mortgage product, Purchase + Improvements (to be covered in a later blog), that can help roll the costs of renovations into your mortgage.
Robert and his family are very proud of their work, as they should be. The project truly turned their house into a home. Prepare to be amazed…
BEFORE |
AFTER |
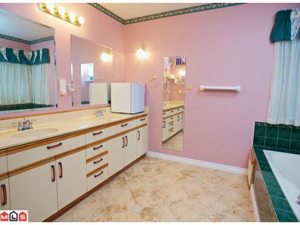
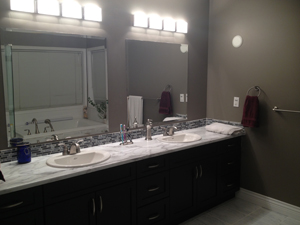
Ensuite 1 |
|
 |
 |
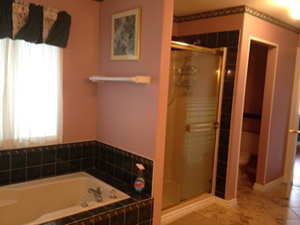
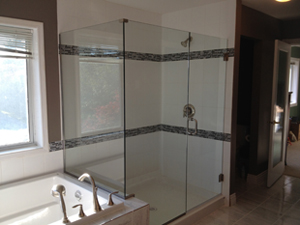
Ensuite 2 |
|
 |
 |
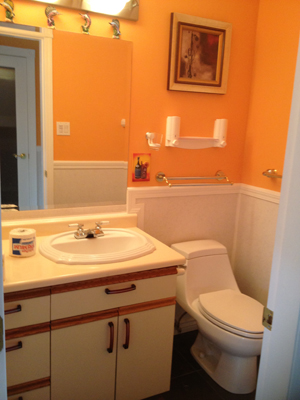
Half Bath |
|
 |
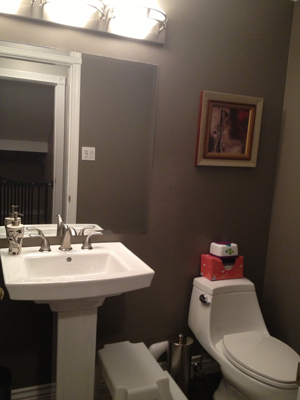 |
Kitchen |
|
 |
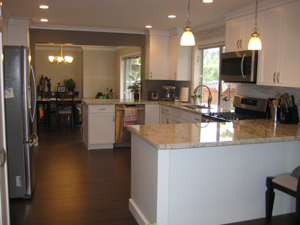 |
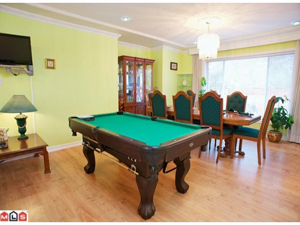
Living Room 1 |
|
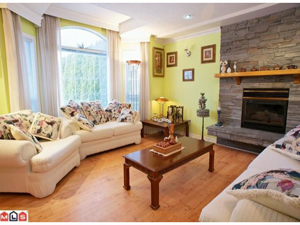 |
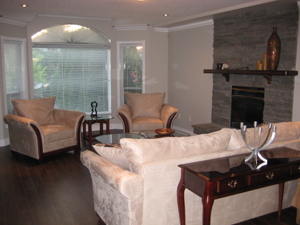 |
Living Room 2 |
|
 |
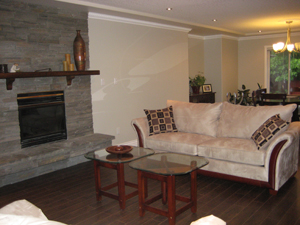 |
 I love beautiful storage. It makes my life easier, it makes me appreciate my home more and in some cases it can add value to your real estate investment.


 Closet designs are constantly over simplified and underutilized. This continues to be an issue with the construction of new homes, condos and townhomes today. Developer’s can cut costs by putting in a basic wire shelf with an adjoining hanging bar, leaving it in the owner’s hands to use ‘as is’ or customize the space to their needs. The common result, owners continue to use the closets ‘as is’ without considering customization.


